Using a hole saw kit involves several steps to ensure proper setup and safe operation. Here’s a general guide on how to use a hole saw kit effectively:
Prepare the Workpiece:
Mark the location on the material where you want to create the hole. Ensure the material is securely clamped or stabilized to prevent movement during the cutting process.
Select the Appropriate Hole Saw:
Choose the correct hole saw size from your kit based on the desired hole diameter. Ensure the hole saw is suitable for the material you are working with (e.g., wood, metal, or plastic).
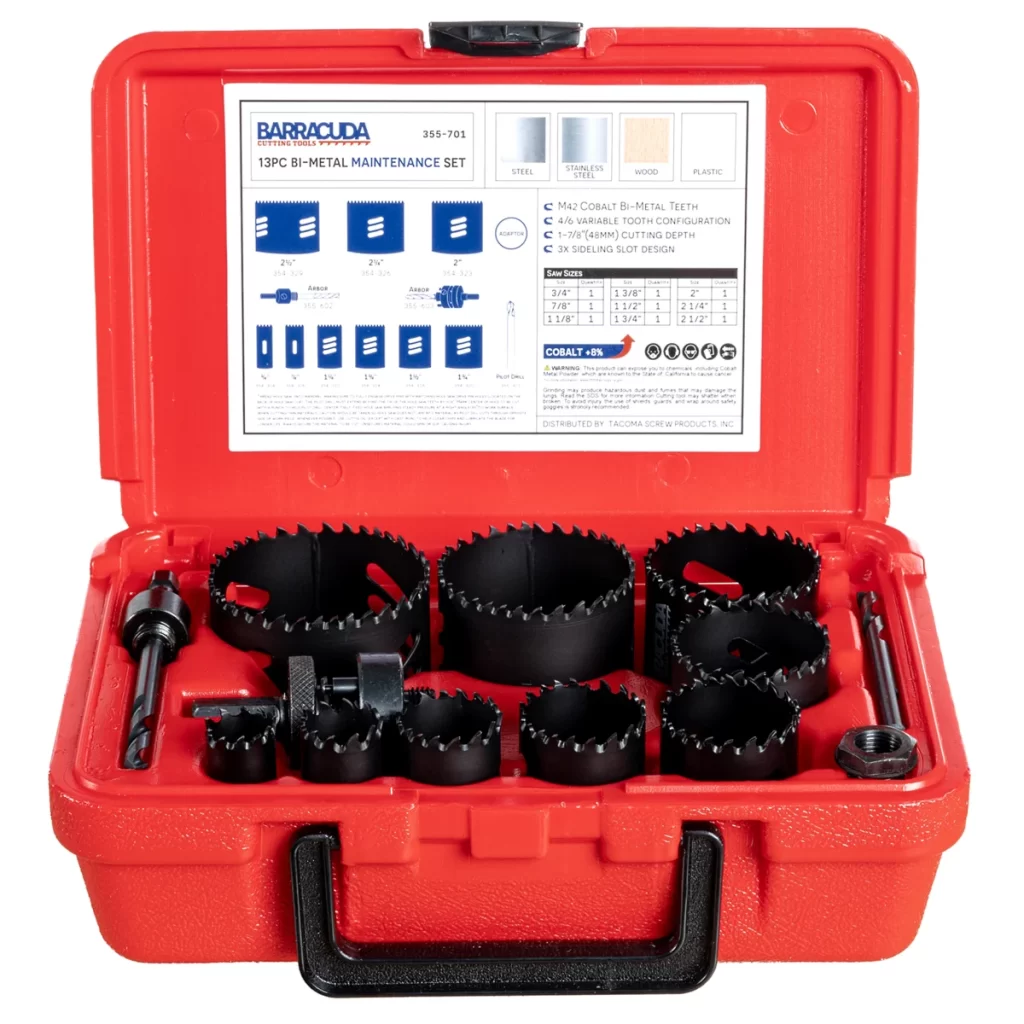
Attach the Hole Saw to the Arbor:
Insert the hole saw into the arbor or mandrel. Most hole saws have a small pilot drill bit at the center. Align the hole saw’s mounting holes with the arbor’s pins or screws, and securely fasten them together.
Prepare the Drill or Power Tool:
Ensure the drill or power tool you are using is suitable for the hole saw kit. Insert the arbor into the drill chuck and tighten it securely. If necessary, attach an extension rod to the arbor to reach the desired depth of cut.
Mark the Starting Point:
If your hole saw does not have a built-in pilot drill bit, use a separate drill bit to create a small starting point at the center of the marked location. This will guide the hole saw during the cutting process.
Start the Cutting Process:
Position the hole saw’s pilot drill bit or the center of the hole saw on the starting point. Apply gentle but steady pressure and start the drill or power tool at a low speed. Allow the hole saw to establish a groove and then gradually increase the speed.
Maintain Steady Pressure:
While cutting, maintain a steady and controlled downward pressure on the drill or power tool to guide the hole saw through the material. Avoid excessive force or pushing too hard, as it can reduce cutting efficiency or cause the hole saw to bind.
Clear Debris:
Periodically stop the drilling process to clear away debris or chips from the hole saw and the cutting area. This will help prevent overheating and ensure smoother cutting.
Complete the Cut:
Continue cutting until the hole saw passes through the material. Take care to prevent the hole saw from binding or getting stuck. Reduce the drilling speed as you approach the end of the cut to minimize any breakout or splintering on the exit side of the material.
Remove the Hole Saw:
Once the hole is complete, release the drill or power tool’s trigger and allow the hole saw to come to a complete stop. Carefully retract the hole saw from the material and clean away any remaining debris.
Note:
Always wear appropriate safety gear such as safety glasses or goggles, ear protection, and gloves when using a hole saw kit. Follow the manufacturer’s instructions and take necessary precautions to ensure safe and accurate operation.
Remember to consult the specific instructions provided with your hole saw kit, as different kits may have slight variations in setup and operation.