The HONDA DAX 125 (ST125) is highly popular for its cute looks and its ease of use as a petit-touring and daily-use companion bike.
This time, we will replace the engine oil, oil filter, and other consumable parts of the Dax 125.
The replacement work is very easy if you have the right tools, so please take a look at this article and give it a try!
-
What to Prepare
- Consumables & Oil Change Goods
- Tools & Garage Tools
-
Oil Change Operation
- Warm up
- Level the Motorcycle
- Loosen the filler cap
- Drain the old oil.
- Replace the drain washer with a new one and tighten the drain bolt.
- Oil filter replacement
- Fill new engine oil
- Check engine oil level
- Disposal of waste oil
- Summary
What to Prepare
The tools you need to prepare for an oil change on a Dax 125 are all basic.
No special tools are required.
Consumables & Oil Change Goods
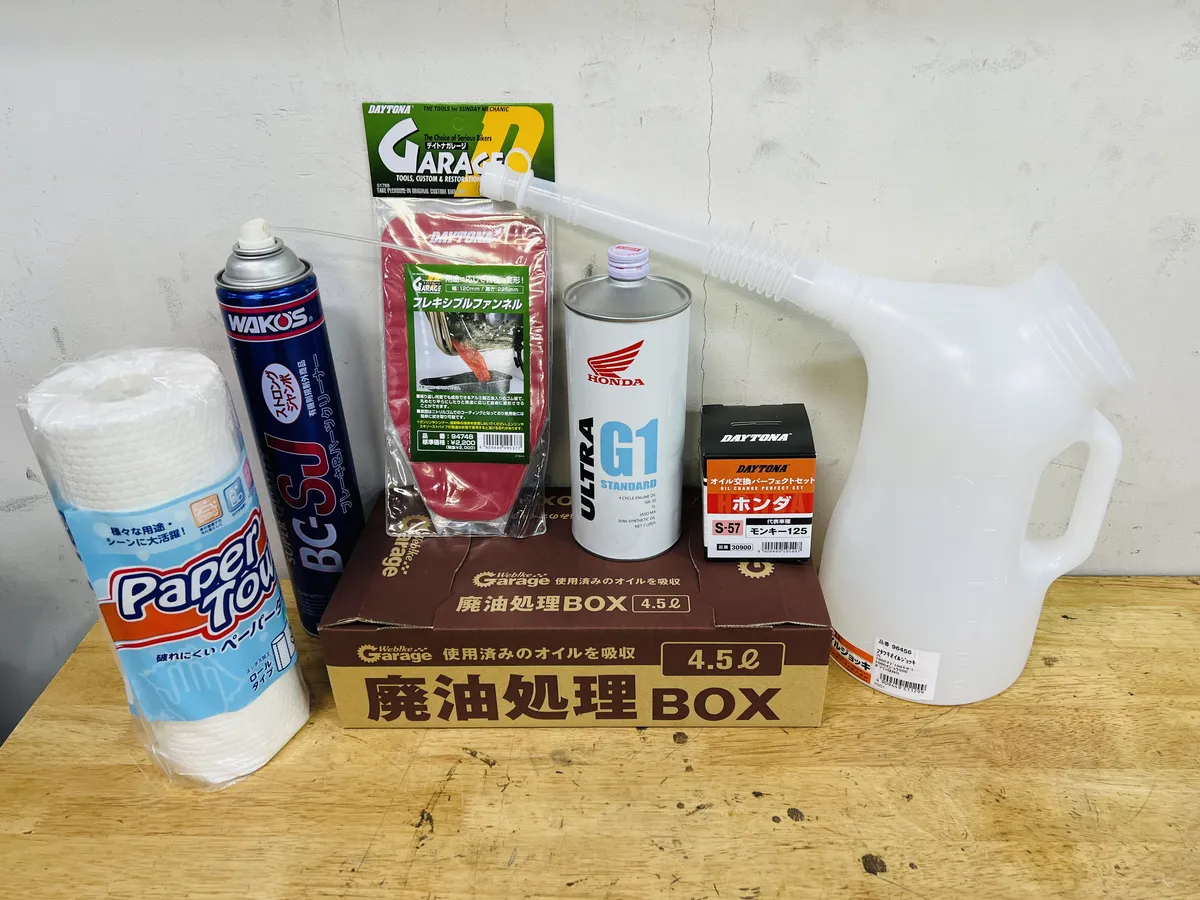
- Engine Oil
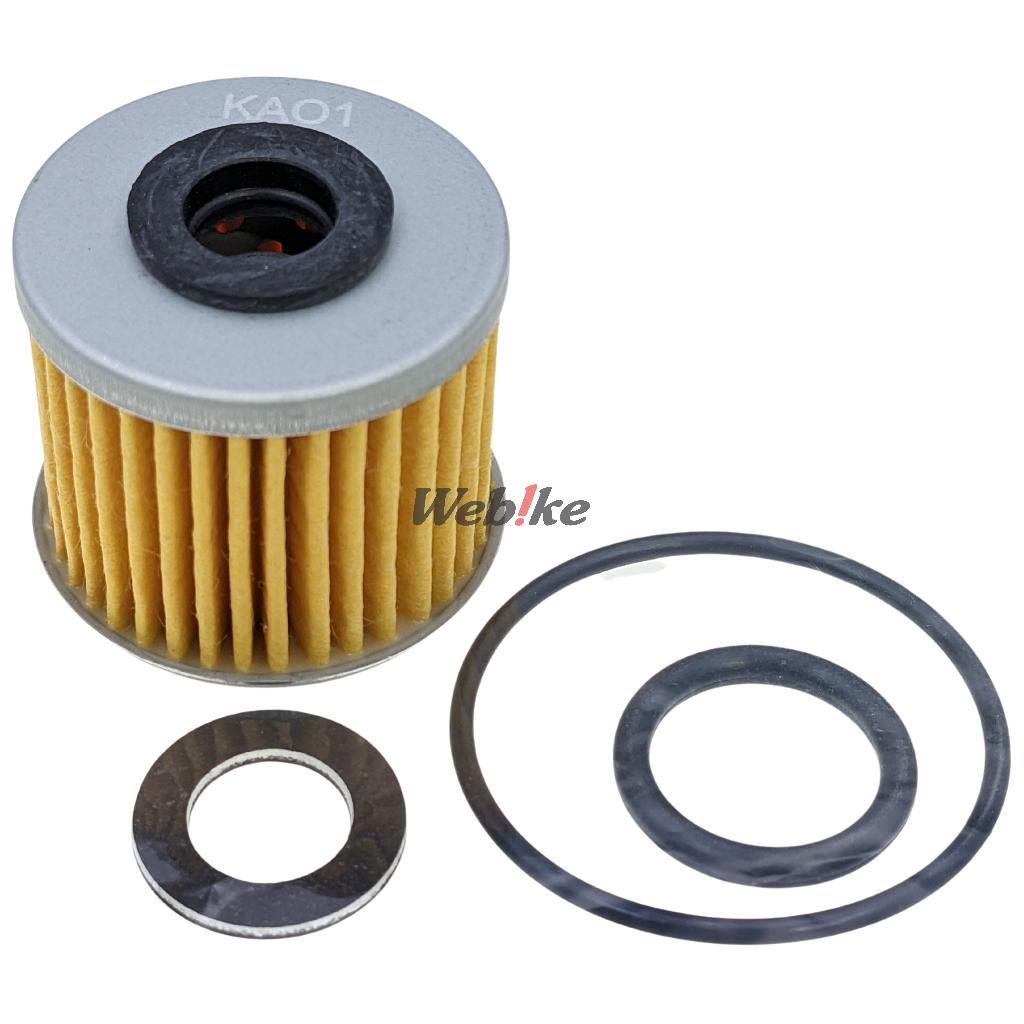
- Oil Filters & Other Consumable Parts
- Waste oil disposal box (with nitrile gloves)
- Parts Cleaner
- Paper rags
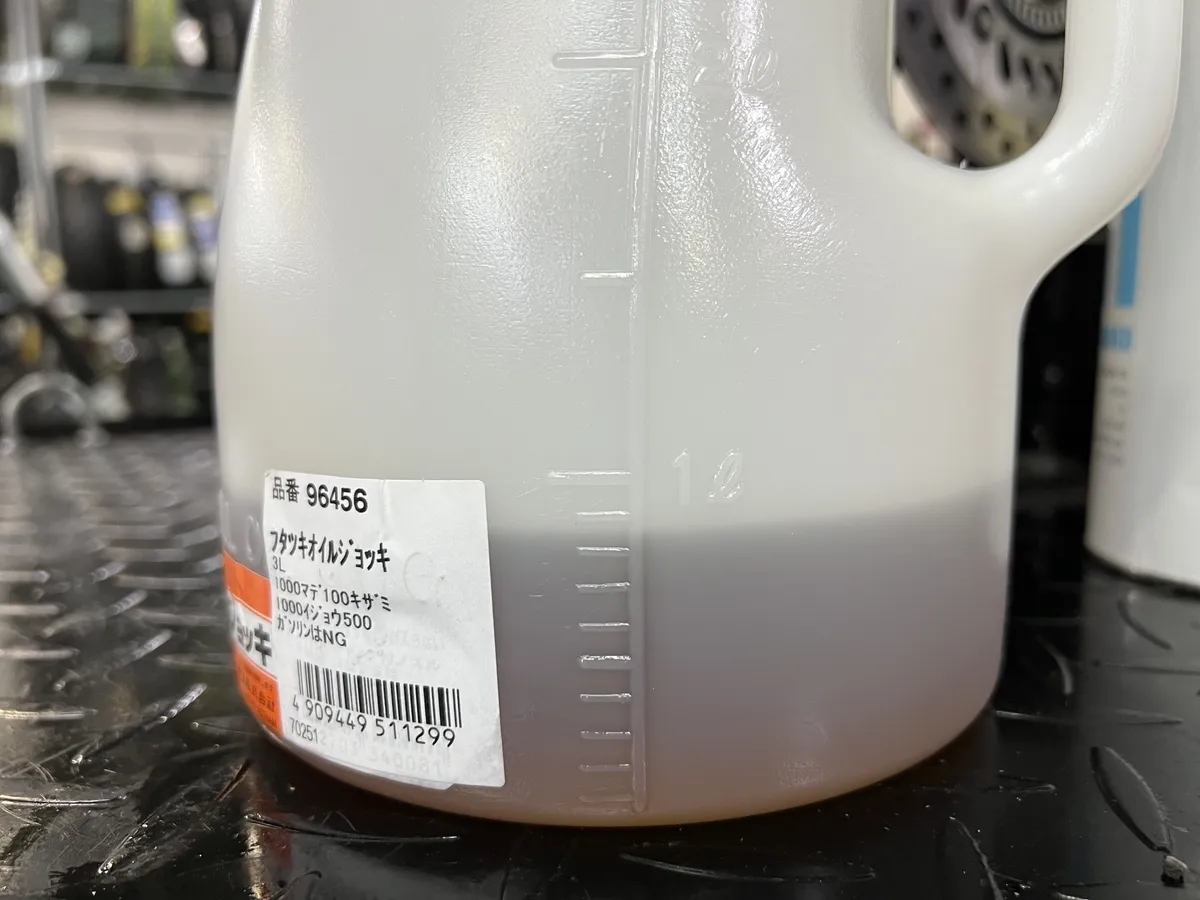
- Calibrated oil jug
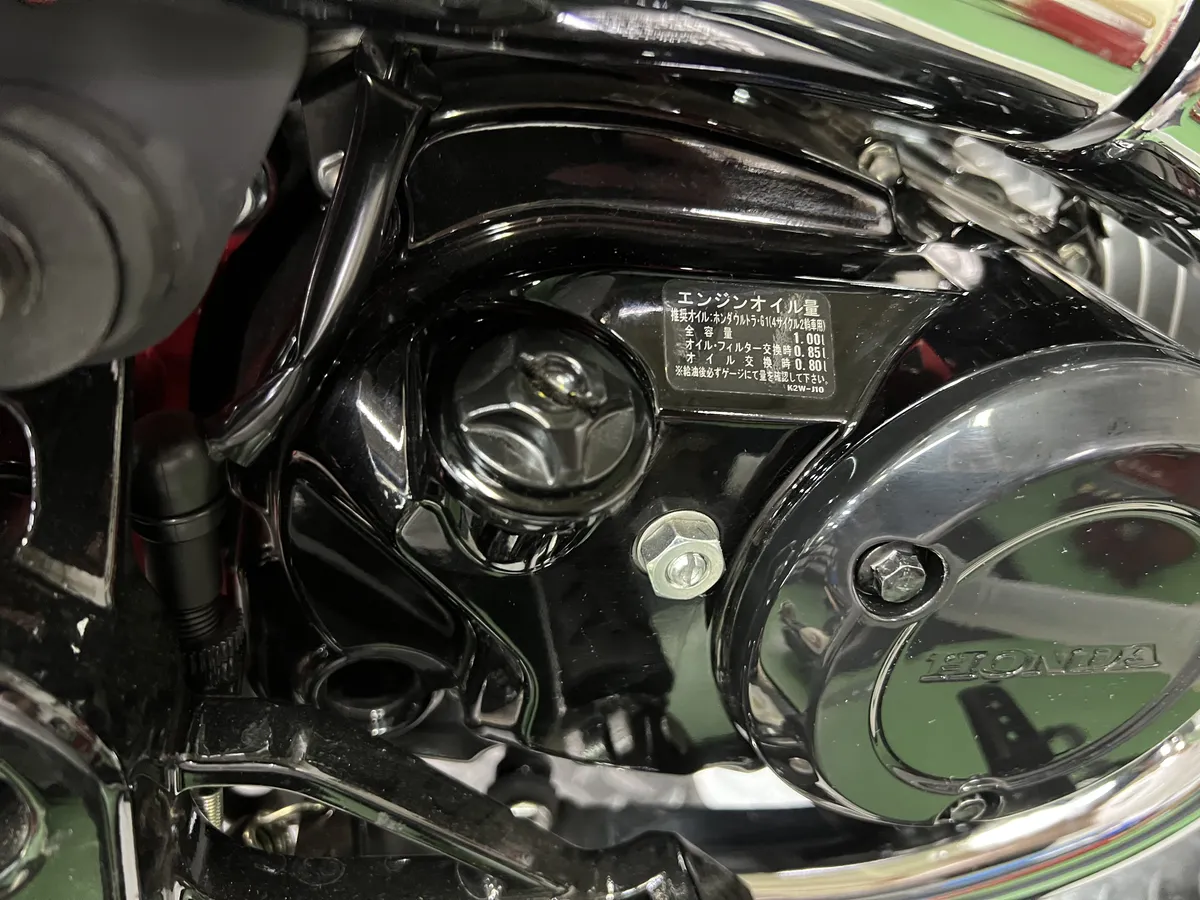
For this engine oil, we will use Honda: Ultra G1 5W-30, which is recommended by the factory.
The amount of oil required for an oil change of Dax 125 is 0.85L when the oil filter is changed and 0.8L when the oil filter is not changed, so you only need to purchase one 1L can.
For oil filters, we recommend Daytona: Oil Change Perfect Set which includes the gaskets, drain washers, and other peripheral parts to be replaced together with the oil filter at the time of oil change! If you try to get each of these parts individually, you may have trouble finding them or forget to buy them, but this will not happen if they are in a set.
Tools & Garage Tools
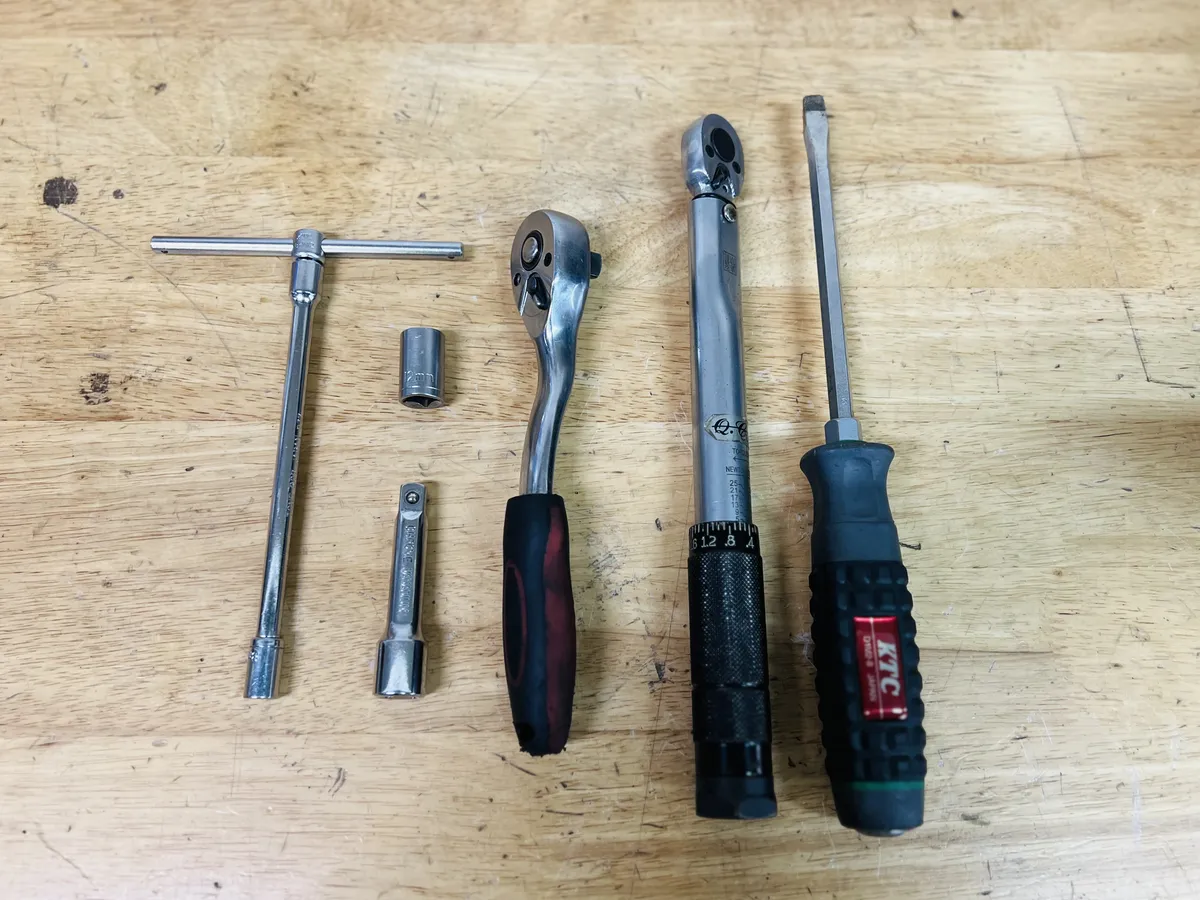
The following tools are always required.
- 8mm/12mm socket (Socket Dodecagon)
- Extension Bars
- Ratchet Wrenches
- Coin screwdriver or flat head screwdriver
- Torque Wrench (capable of measuring 10~25N-m)
The following can be done without but will make the work safer and more efficient.
- Flexible Funnel
- Rear Stand
- Spinner handle (breaker bar)
- T-head wrench
Oil Change Operation
Warm up

It is said that it is better to warm up the engine oil when changing it.
This is based on the principle that warming up the oil increases its fluidity and allows the oil to drain well. However, under certain conditions, it may be better not to warm up the engine oil.
For details, please refer to this article.
Level the Motorcycle

Keep the body vertical to drain off the old oil. The Dax 125 does not have a center stand, so a rear stand was used. For the Dax 125, we recommend an L-shaped stand with an L-shaped receiver and height adjustment or a mini-bike size.
Loosen the filler cap
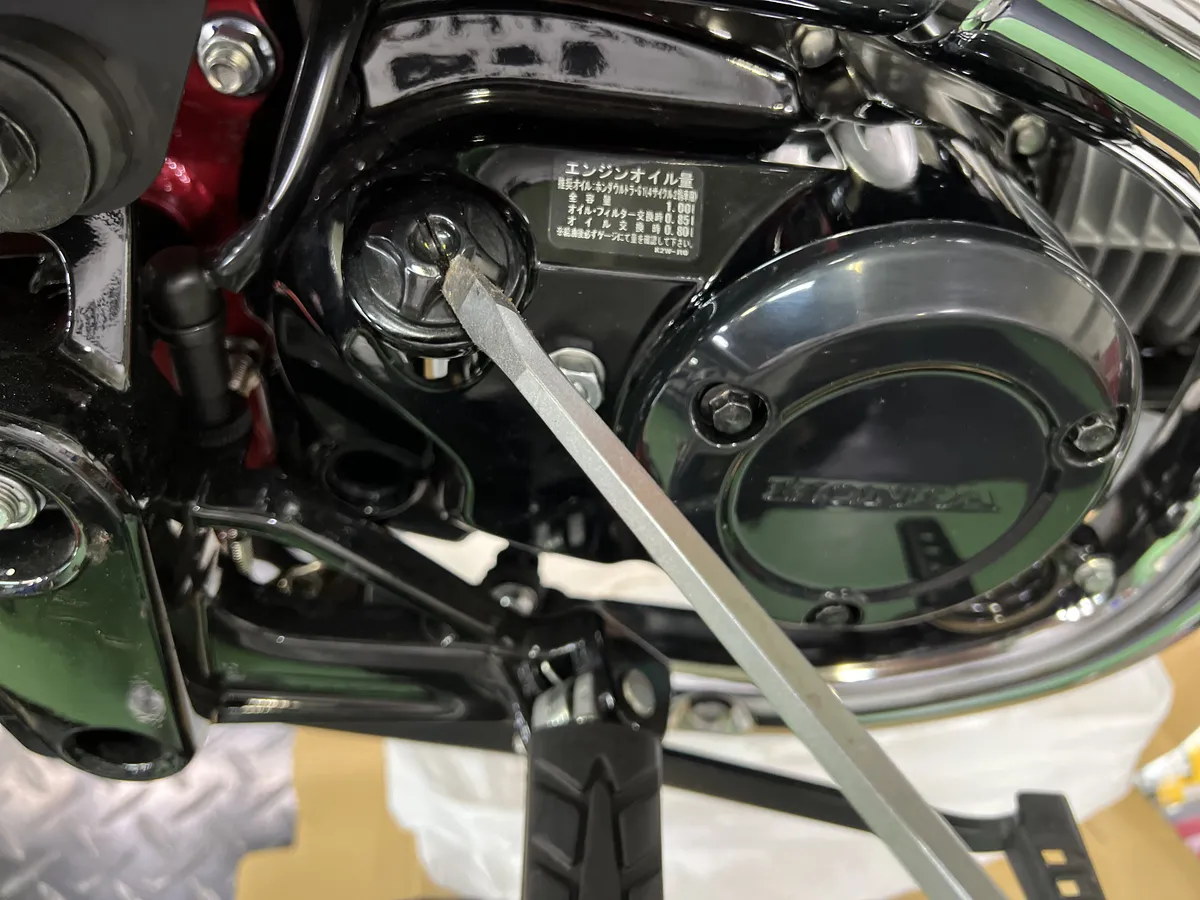
Once warmed up, stop the engine and use a coin screwdriver or flathead screwdriver to loosen the filler cap at the oil inlet. This will help to loosen the filler cap, which may become hard after the oil has been drained and will also help the oil to drain more easily.
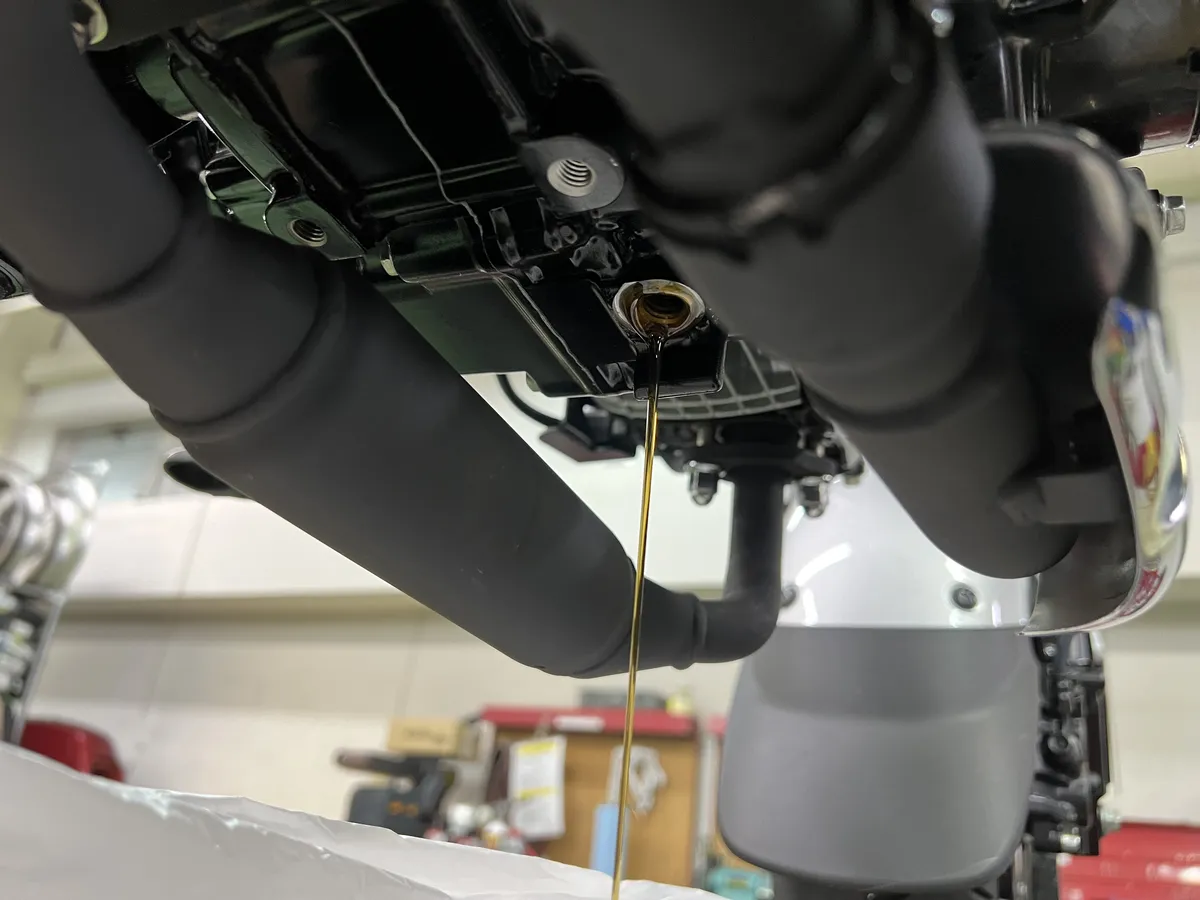
Drain the old oil.
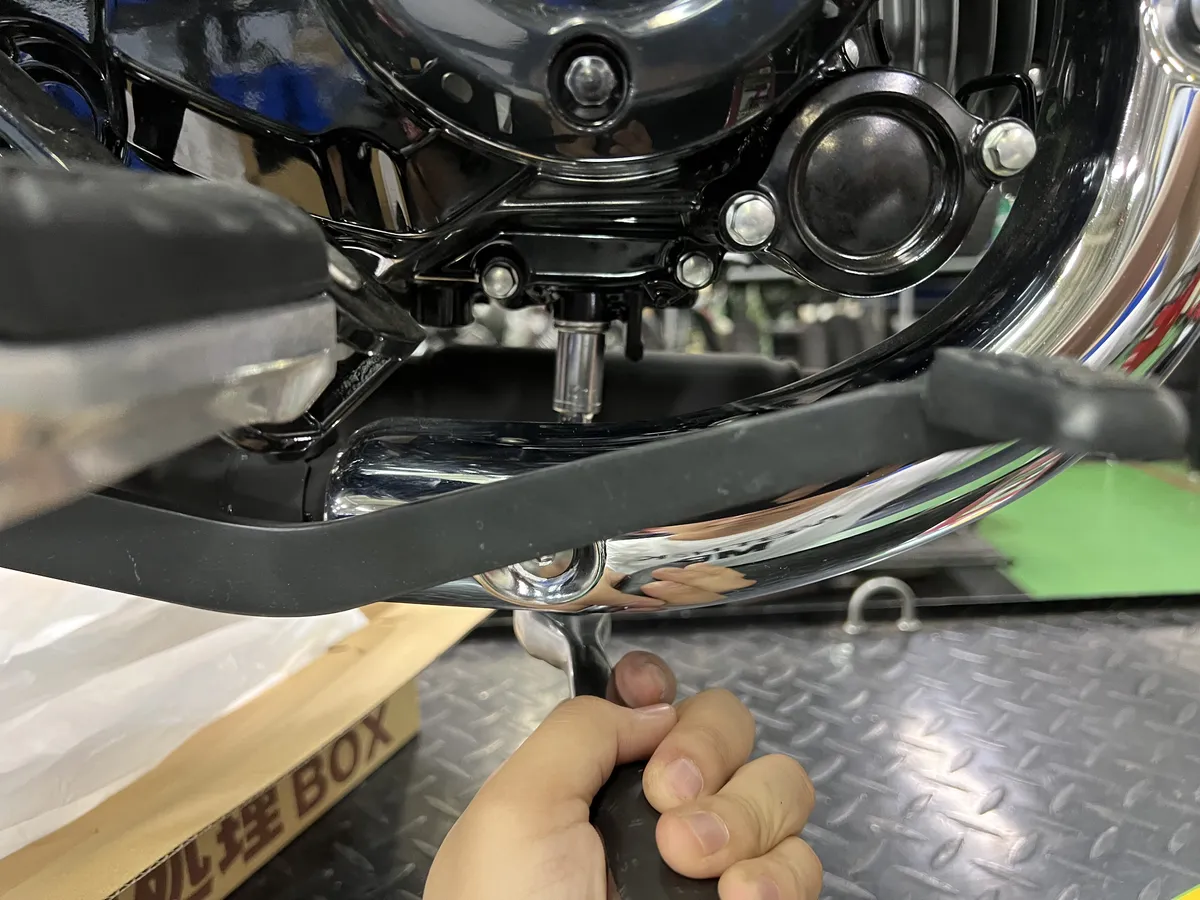
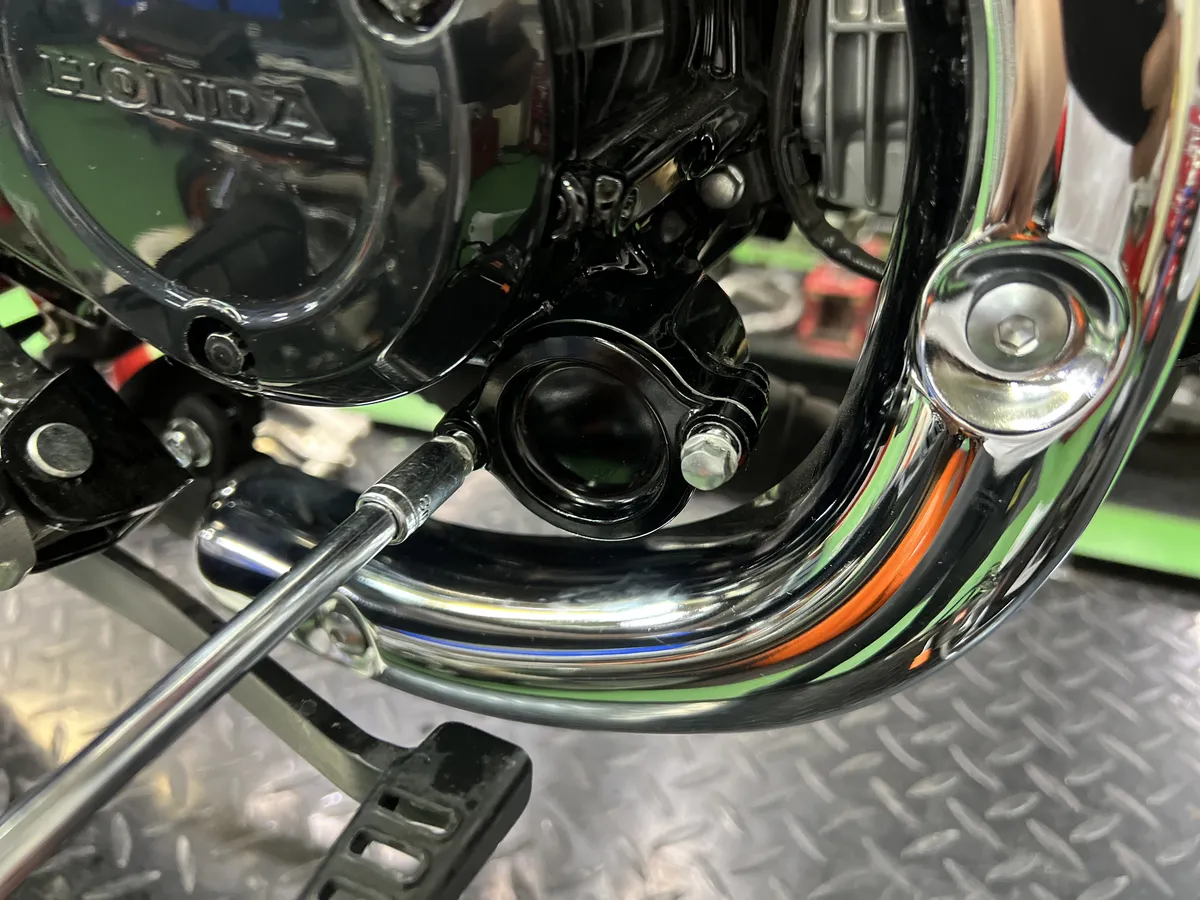
Open the waste oil disposal box and set it directly under the drain bolt to catch the waste oil to be discharged. The drain bolt is located at the bottom of the vehicle body, between the exhaust pipes. The bolt size here is 12 mm. Use an extension bar for smooth access.
Be very careful at this point because the engine, exhaust pipe, and oil coming out of the exhaust pipe are all hot enough to burn you.
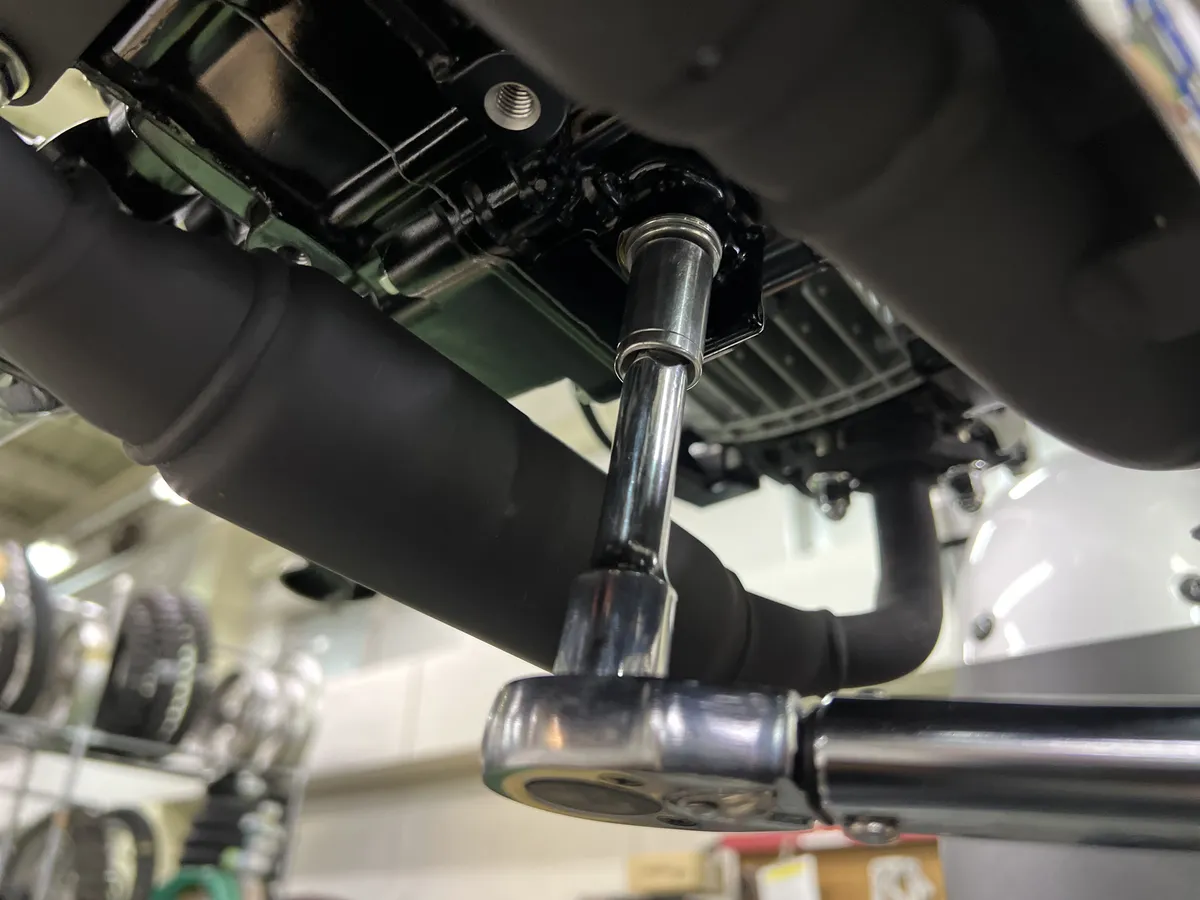
The drain bolt may not loosen easily.
In this case, a spinner handle (breaker bar) with easy access to force will make the work safer and easier. To avoid damaging the head of the bolt, we recommend using a precision tool of a reliable brand as much as possible.
Replace the drain washer with a new one and tighten the drain bolt.
When the oil has approximately drained out, tighten the drain bolt. At this time, replace the drain washer with a new one. Tighten the drain bolt by hand at first, and when it cannot be turned by hand, use a torque wrench to tighten it.
The specified torque is 25 N-m.
Oil filter replacement
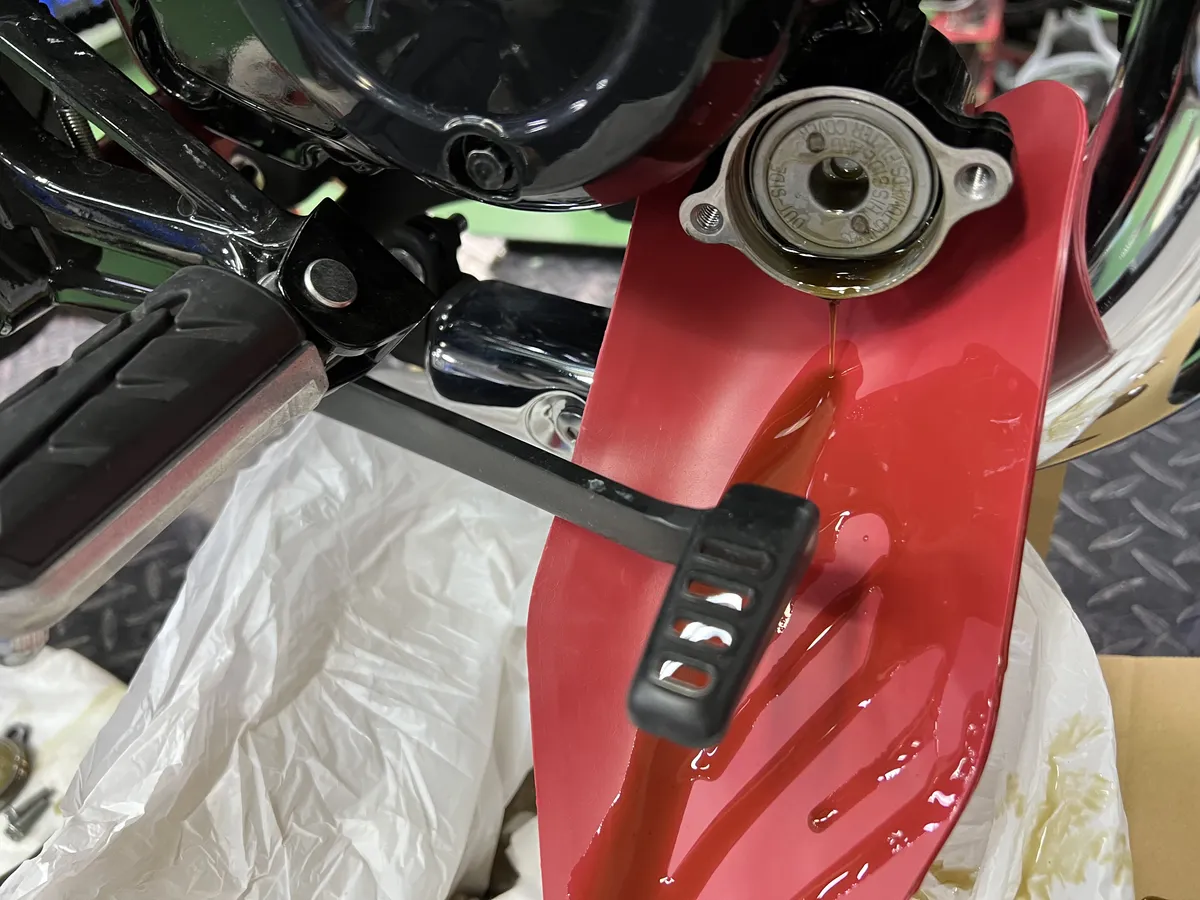
Remove the 8mm bolt holding the oil filter cover at two points. Use a T-shaped wrench, which is good for quick turning, to make quick work. When the filter cover is removed, the oil that has accumulated there may leak out at the same time. If the oil filter cover is not removed, the oil will fall onto the exhaust pipe and contaminate it.
You can use a piece of cardboard or similar material as a substitute for the flexible funnel.
Be sure to wear work gloves when removing the oil filter, as iron dust may injure your hands.
Wipe off the old oil lightly with a paper rag, as it is likely that old oil has accumulated where the oil filter used to be.
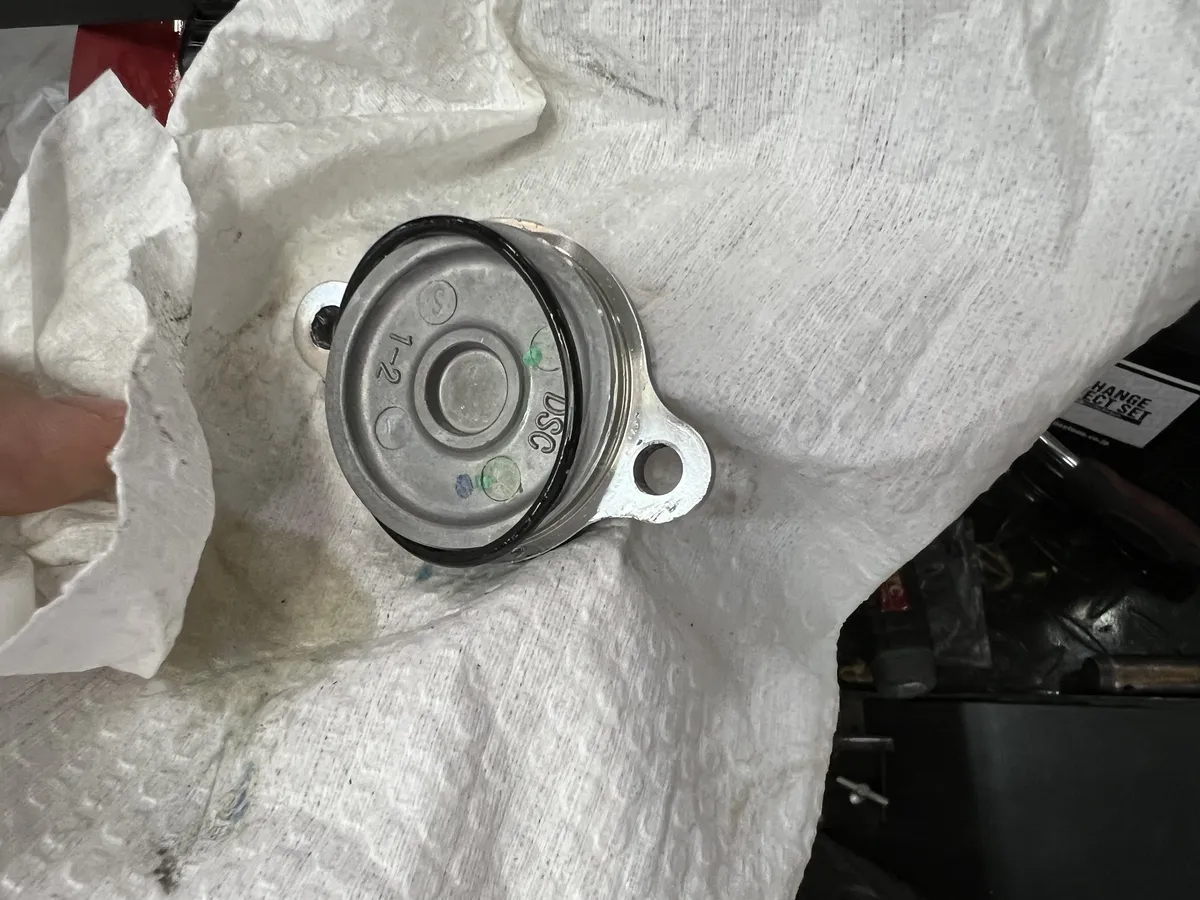
Insert a new oil filter. At this time, replace the rubber packing on the oil filter cover side with a new one.
Replace the oil filter cover. The specified torque for the two 8mm bolts is 10N-m. This completes the oil filter replacement.
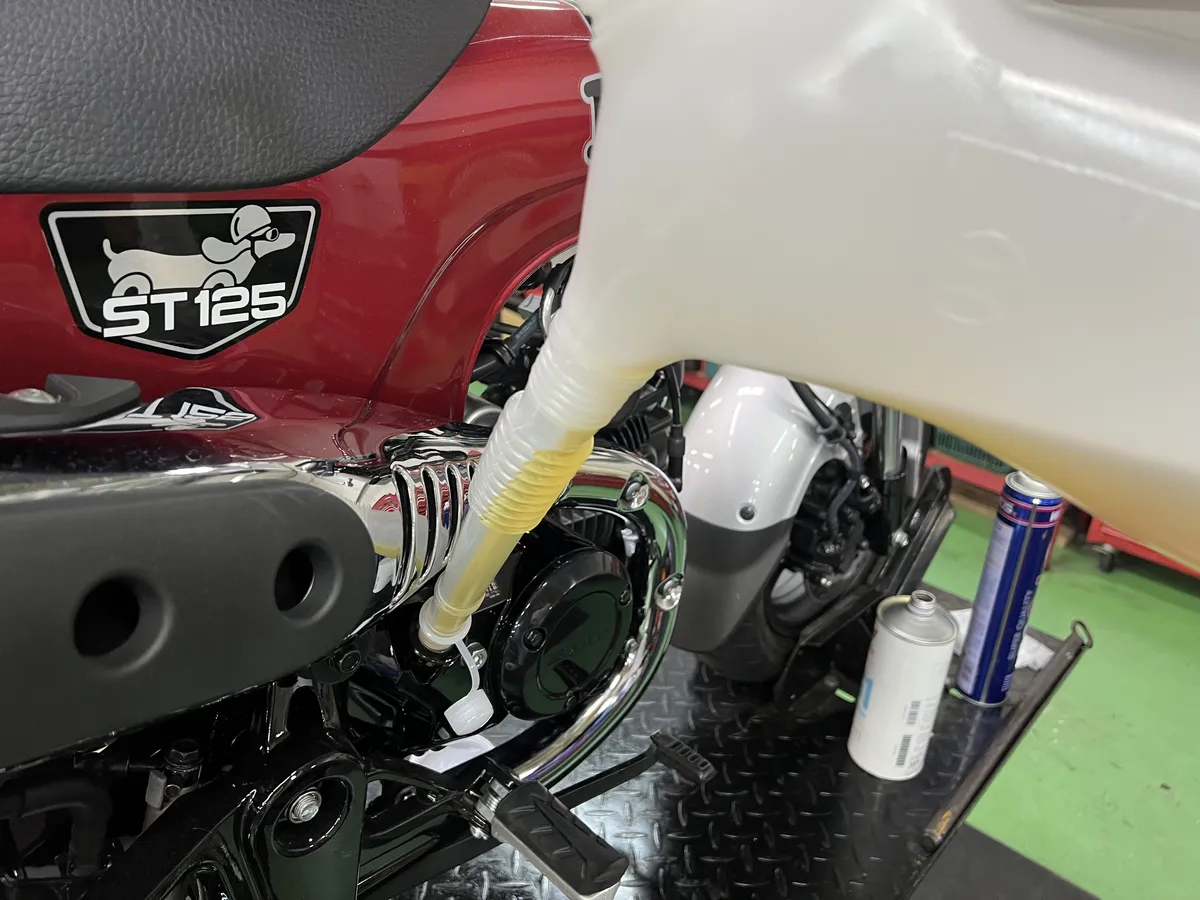
Fill new engine oil
After confirming that the drain bolt and oil filter cover are securely tightened, remove the filler cap and inject new oil. Since we are replacing the oil and oil filter at the same time, we will fill 0.85L of oil (0.8L when the oil filter is not replaced).
(When the oil filter is not replaced, 0.8L is used.)
The filler port on the Dax 125 is very small. We recommend an oil jug with a measuring scale and a narrow nozzle tip.
Tighten the filler cap securely when the specified amount of oil has been added. The oil change perfect set includes a new filler cap packing, so replace it with a new one while you are at it.
Check engine oil level
Make sure that the proper amount of oil is in the car. Remove the vehicle from the maintenance rear stand, allow the tires to set, and raise the vehicle to a vertical position on as level a level surface as possible.
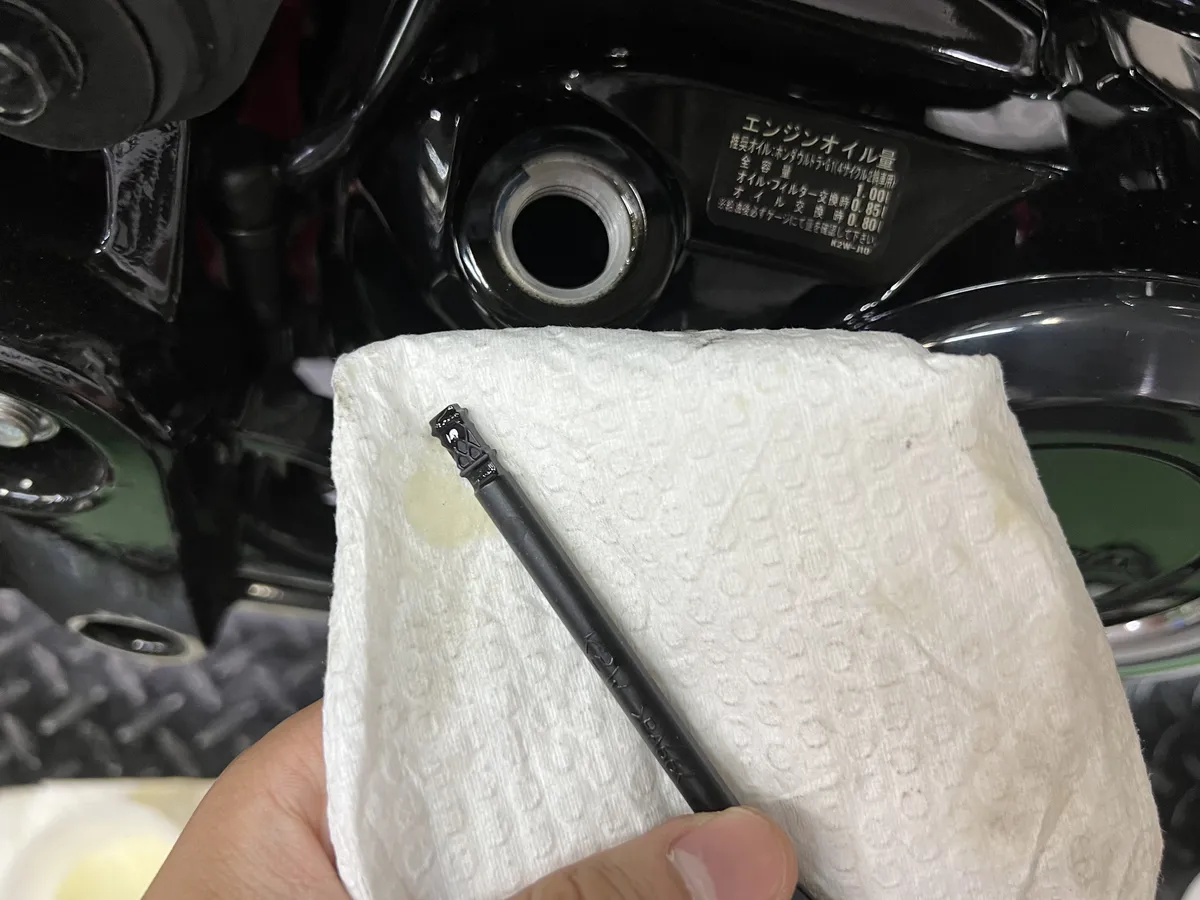
Insert the filler cap without screwing it on, and if it is soaked to the middle of the tip as shown in the image, it is OK.
Tighten the filler cap firmly and idle the engine for a few minutes to allow the oil to circulate in the engine.
If there is not enough oil, add a little more. If it is too much, loosen the drain bolt and remove the oil from the bottom, or use a syringe with a tube to remove the oil from the inlet side and adjust the amount to the appropriate level. It is easier to adjust a small amount by draining from the top.
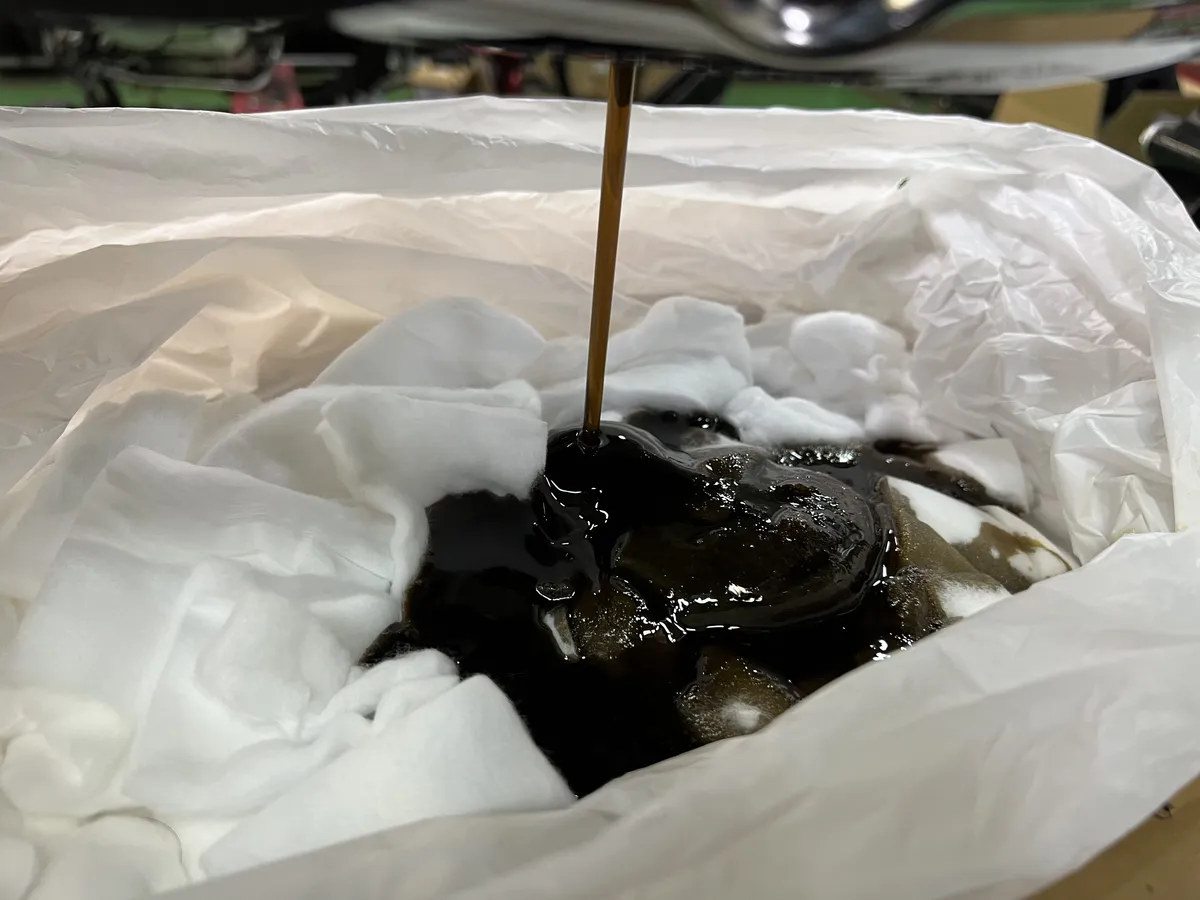
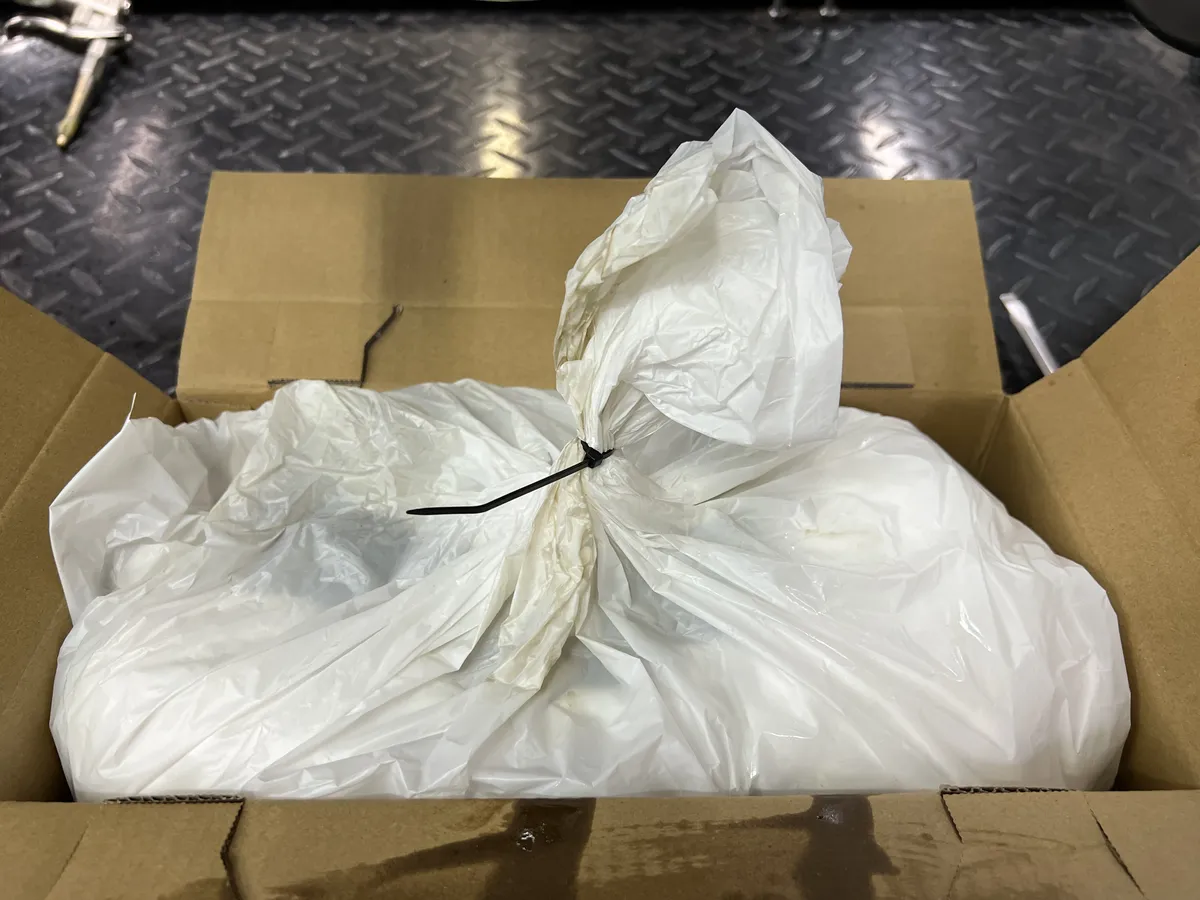
Disposal of waste oil
Tightly close the mouth of the waste oil disposal box bag containing the waste oil so that the contents will not leak out.
In most cases, the waste oil can be disposed of as burnable garbage, but there are some areas where it cannot be disposed of as burnable garbage, so please check in advance.
Summary
Changing the oil in a Dax 125 is not that difficult as long as you have the basic tools.
The procedure is the same for many other types of vehicles, so please refer to this article on oil changes for the Dax 125 and give it a try!
We used OEM engine oil this time, but there are many other types of oil available.
Please examine them carefully!