It is quite common for a brake lever to bend in a crooked shape or break off at the tip when the bike is laid down due to a fall or standing on it. It would be nice to think that this brake lever mitigates scratches on the gas tank and exterior parts.
Let’s review the maintenance procedure when replacing or removing the brake lever, which seems simple but, in fact, has a lot of work to do.
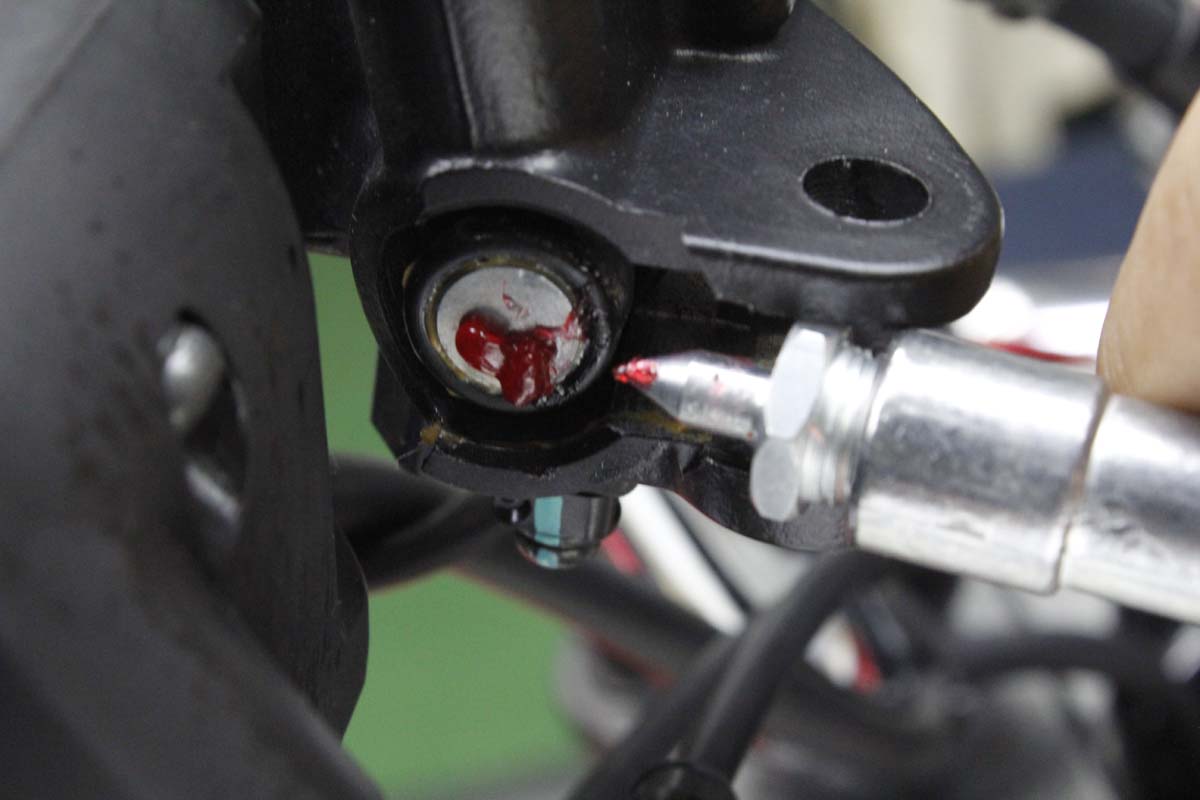
- Hydraulic brake lever, note the piston push-in part.
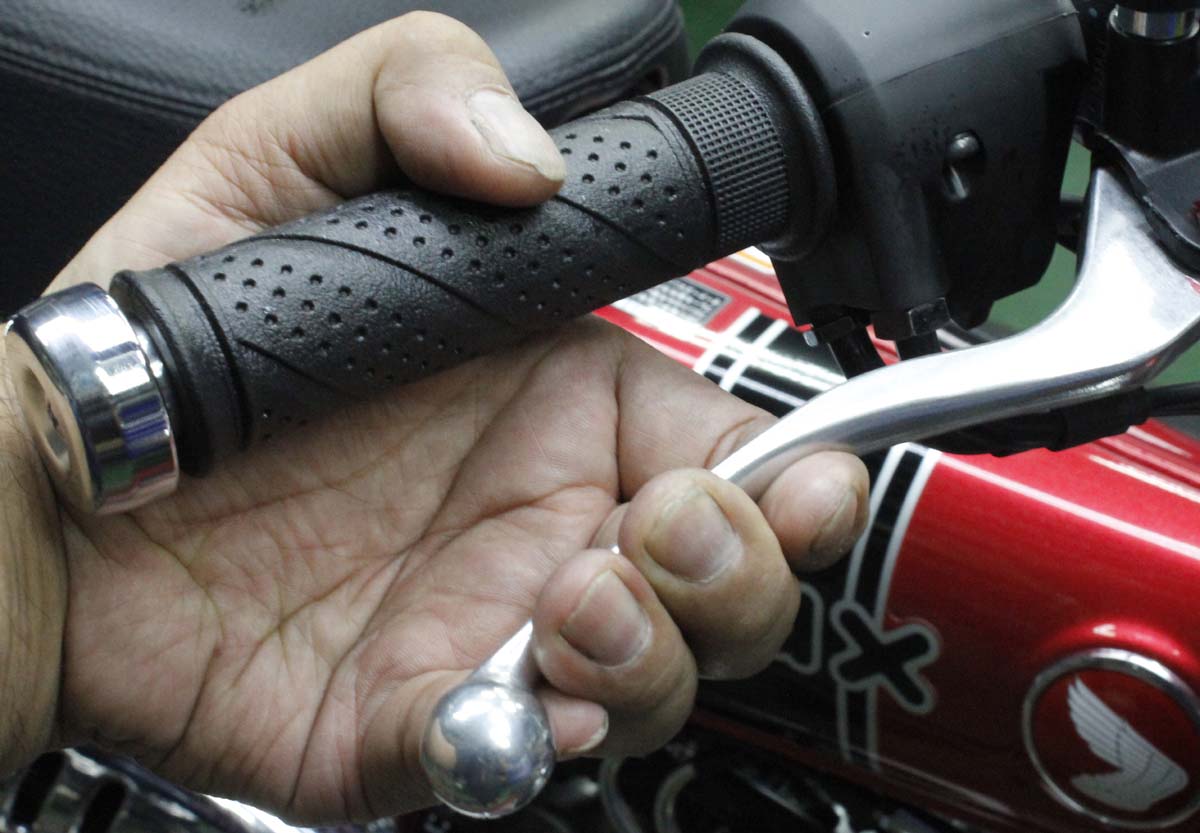
- Loosen the pivot bolt from the lower locknut.
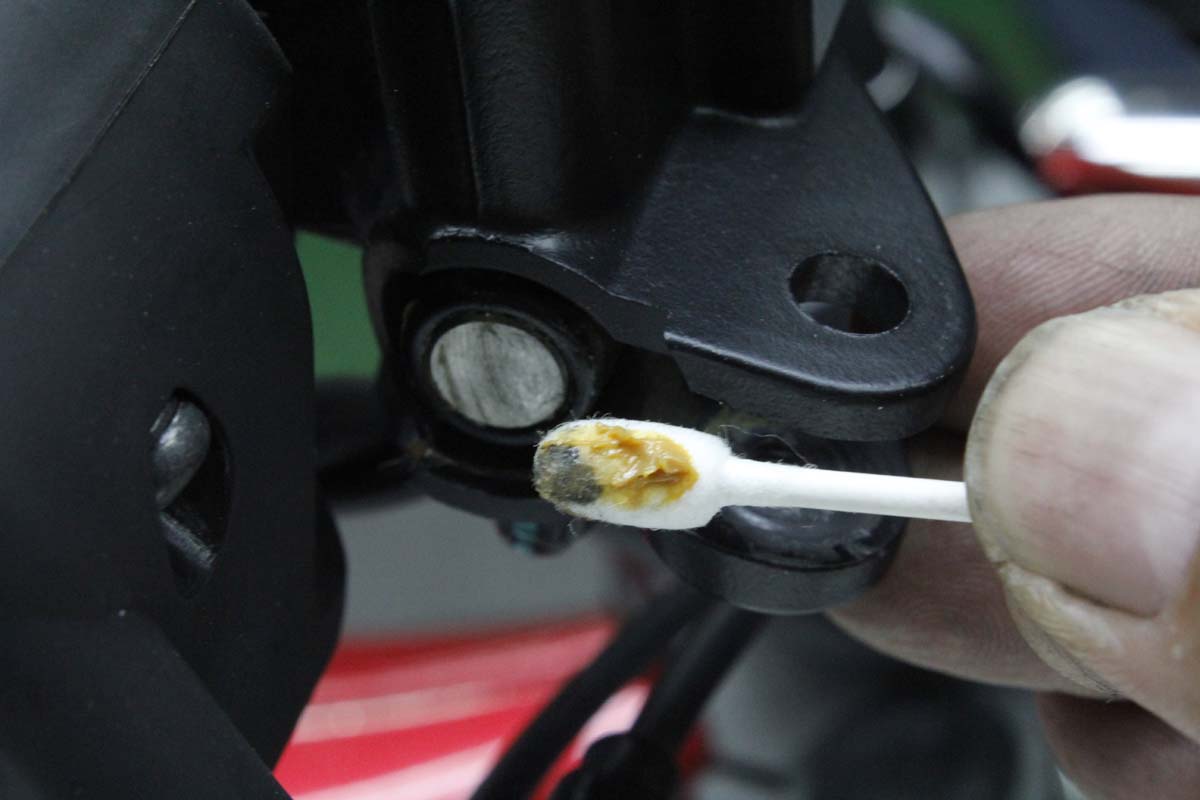
- Apply silicon spray or rust inhibitor spray and clean
Hydraulic brake lever, note the piston push-in part.
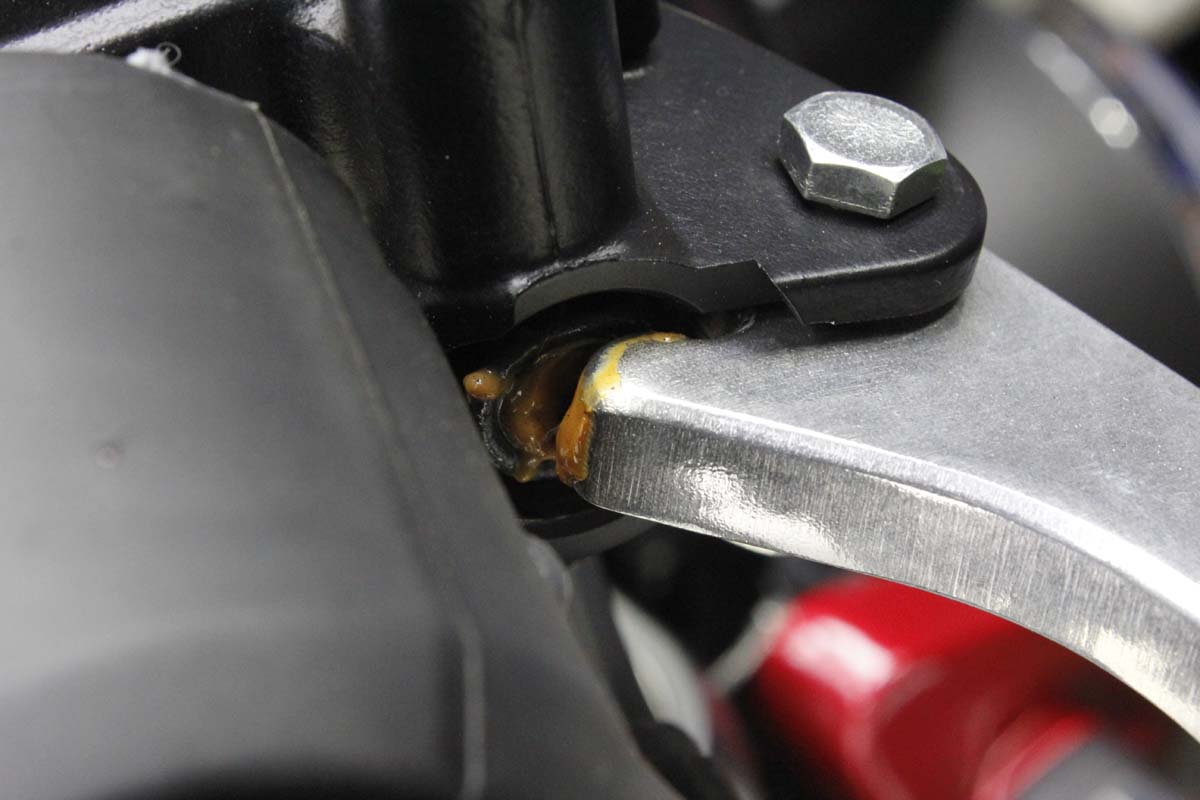
In the case of hydraulic disc brakes, the condition of the bolt that serves as the axis of the lever (the point of action) and the part that pushes the master cylinder (the point of force) make a considerable difference in the feeling when operating the lever, or the so-called “lever touch.
If you hear a crackling sound due to lack of lubrication or grease, or if you feel discomfort when gripping the lever, first remove the brake lever and perform maintenance on the surrounding parts.
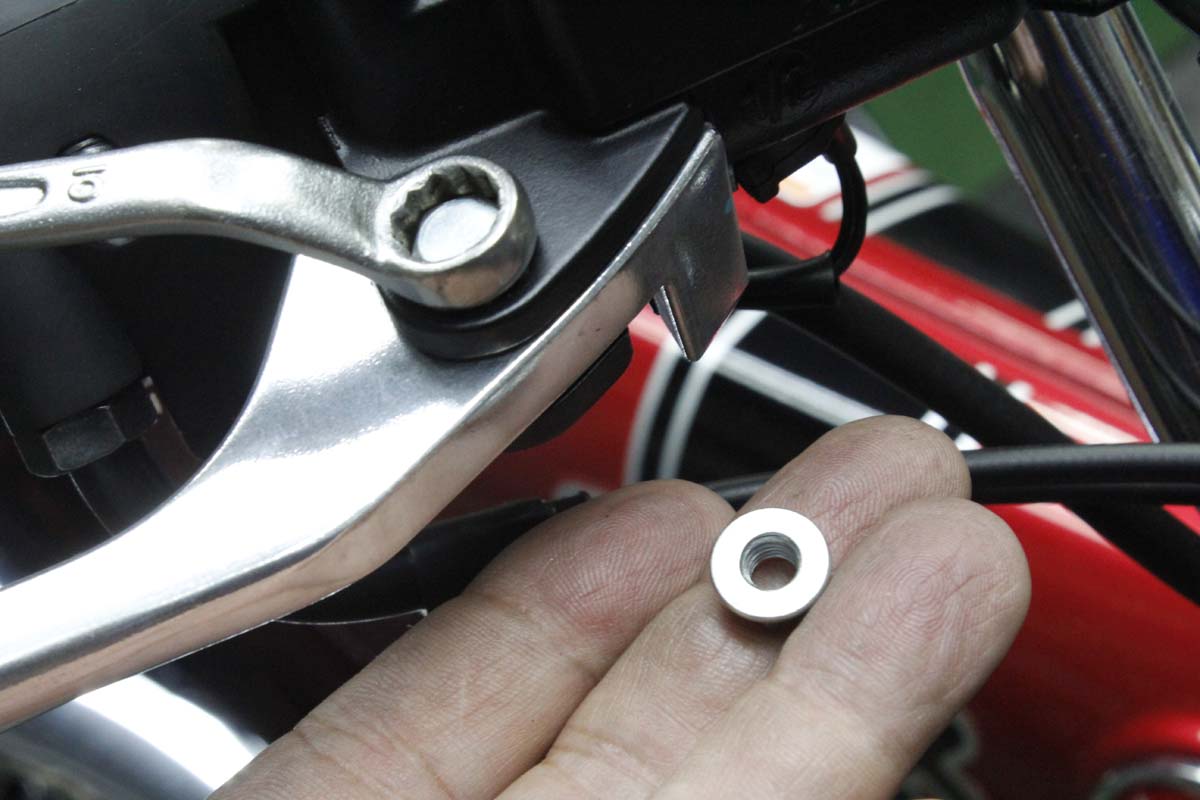
Loosen the pivot bolt from the lower locknut.
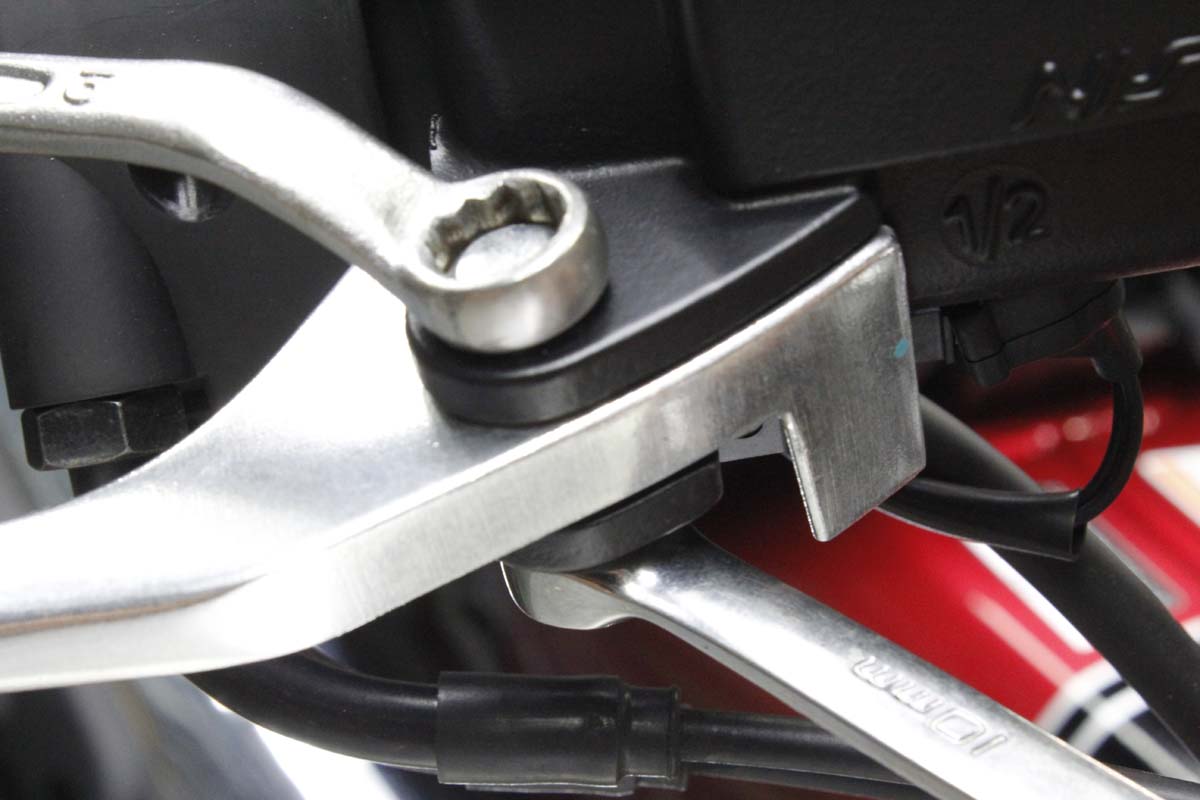
The brake lever is fixed to the master cylinder with a bolt and then tightened with a lock nut.
Depending on the tightness of this bolt, there will be differences in the lever’s operability.
When removing the lever, set a wrench on both the bolt and nut, and while holding the bolt side in place, remove it first from the lower lock nut. Next, loosen and remove the upper bolt, and check the condition of the master cylinder end where the brake lever pushes in. In such a case, wipe off the grease with a rag, tissue, or cotton swab and check the wear condition of the master cylinder piston end.
Apply silicon spray or rust inhibitor spray and clean

The new Dax 125 photographed here has just been registered, so it is in good condition, but as the mileage progresses, the dirt in the vital parts will become increasingly dirty, causing the grease to run out and the operating condition to deteriorate.
Instead of cleaning with parts cleaner, it is recommended to spray the area around the master piston with anti-rust penetrating chemical or silicon-based lubricant spray, and then remove the dirt with a rag or cotton swab. If wear caused by the pushed lever had occurred when the piston end was wiped off with a dirty rag, the lever touch would have been considerably worse. After cleaning and greasing, temporarily assemble the lever and push the mustache piston several times to check its familiarity.