Installing a Seepex BN Series pump can significantly enhance your fluid handling processes. This guide provides a comprehensive, step-by-step approach to ensure a smooth installation. Whether you are a seasoned technician or a newcomer, following these instructions will help you achieve an efficient setup.
Understanding the Seepex BN Series
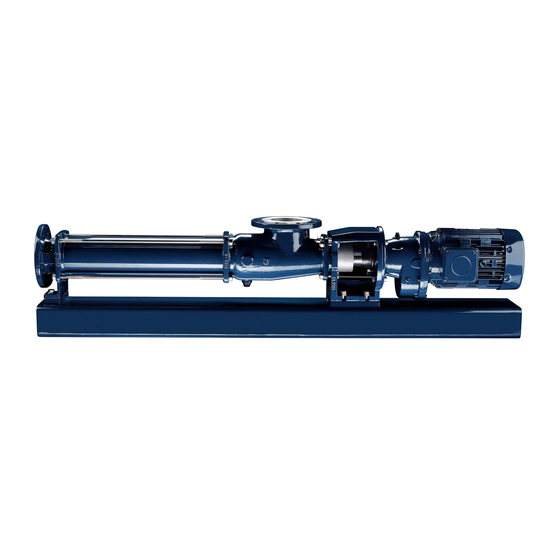
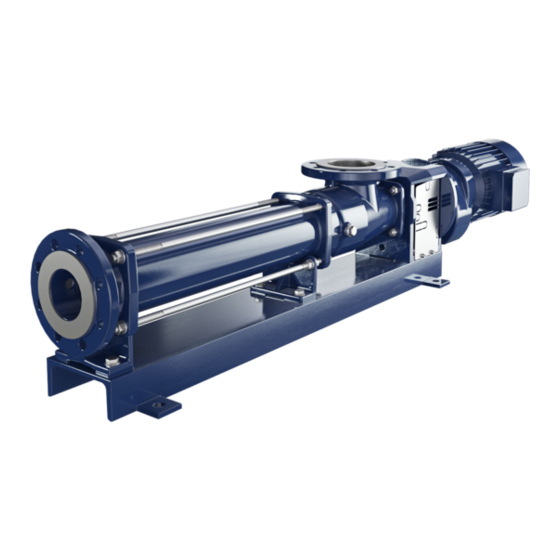
The Seepex BN Series pumps are designed for the reliable transport of various fluids, including viscous and shear-sensitive materials. Their progressive cavity design ensures consistent flow and efficient operation. Before starting the installation, familiarize yourself with the pump components and their functions.
Preparation for Installation
Before diving into the installation process, it’s crucial to prepare adequately. Here are some essential steps:
- Gather Necessary Tools and Materials
- Wrenches
- Screwdrivers
- Sealing materials
- Leveling equipment
- Read the Manufacturer’s Manual
- Review the installation manual provided by Seepex to understand specific requirements and recommendations.
- Select the Installation Location
- Ensure the location is accessible for maintenance and monitoring.
- Verify that the area is clean and free of debris.
Step-by-Step Installation Guide
Step 1: Unpacking the Pump
Carefully unpack the Seepex BN Series pump. Inspect it for any shipping damage and verify that all components are included.
Step 2: Mounting the Pump
- Position the Pump: Place the pump on a stable and level surface.
- Secure the Base: Use bolts or anchors to secure the pump base to the floor to prevent movement during operation.
Step 3: Connecting the Inlet and Outlet Pipes
- Inlet Connection: Attach the inlet pipe to the pump’s inlet. Ensure that the connection is tight and secure to prevent leaks.
- Outlet Connection: Similarly, connect the outlet pipe. Check for proper alignment to avoid undue stress on the pump.
Step 4: Electrical Connections
- Power Supply: Connect the pump to the appropriate power supply. Ensure that the voltage and frequency match the specifications indicated in the manual.
- Control Panel: If applicable, connect the pump to a control panel, following the electrical diagrams provided by Seepex.
Step 5: Priming the Pump
Before starting the pump, it’s essential to prime it to avoid damage. Follow these steps:
- Fill the Pump: Manually fill the pump with the fluid it will be handling.
- Check for Air Bubbles: Ensure there are no air pockets, which can affect the pump’s performance.
Step 6: Testing the Installation
- Initial Start-Up: Power on the pump and observe its operation. Listen for any unusual noises and check for leaks around the connections.
- Monitoring: Monitor the flow rate and pressure to ensure everything is functioning as expected.
Conclusion
Installing a Seepex BN Series pump can be a straightforward process if you follow these steps carefully. By ensuring proper preparation, secure connections, and thorough testing, you can maximize the efficiency and longevity of your pump. Always refer to the manufacturer’s guidelines for specific details and safety precautions. Happy pumping!